
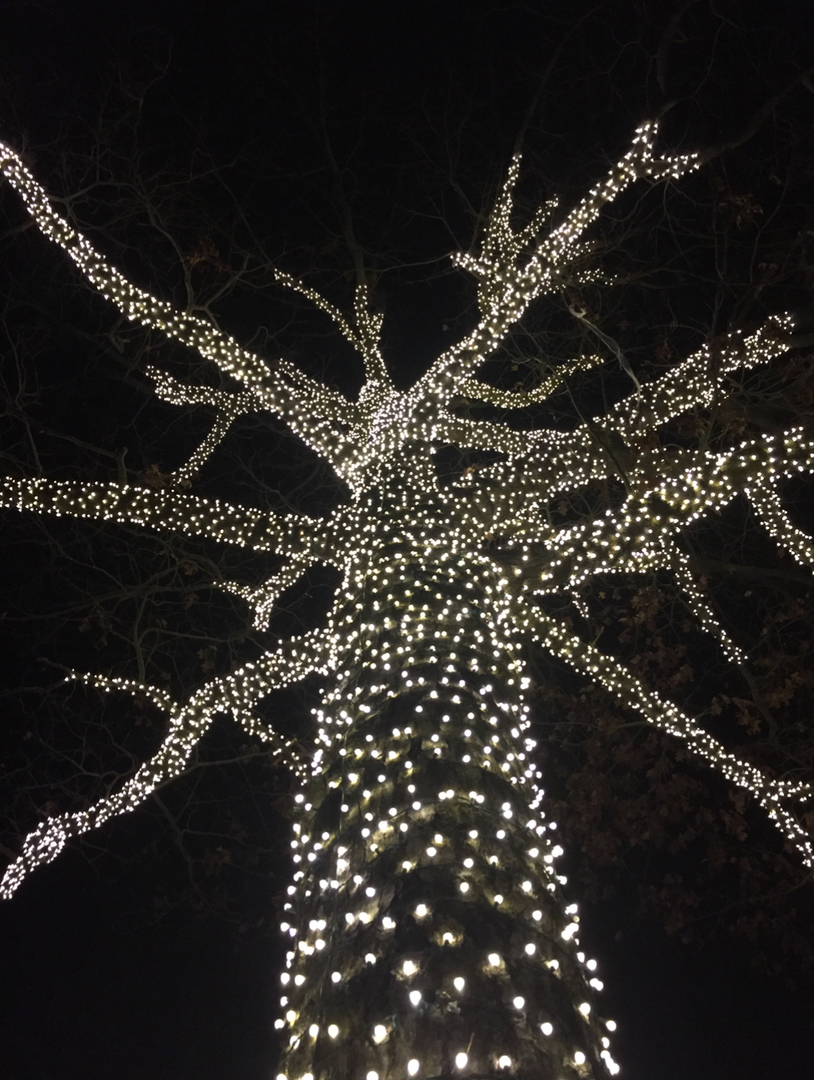
Wrapping trees with mini lights is a creative way to create bright, eye-catching Christmas lighting displays that will stand out.
Choose wide angle LED mini lights for the brightest, most energy efficient, and long-lasting display. Here’s how to wrap trees with mini lights to create a luminous light display this holiday season.
You don’t need to be a professional
You don’t need to be a professional to wrap trees with mini lights. In fact, you can get the whole family involved.
If you’re wrapping trees outdoors, make sure you invest in outdoor mini lights. All of Novelty Lights’ mini lights are rated for indoor and outdoor use. They will not fade or break in cold or adverse weather conditions. When you begin, unwind the mini lights and look for the male plug so you can plug in the lights when you finish wrapping your tree.
You also need to determine the length of mini lights that you need for your tree. Depending on how wide and how tall the tree is, you will likely need to use several strings. Be sure to double check the maximum number of strings that you can connect for the lights you purchased. If you are using LED mini lights, you can connect 20+ strings together with no problems. Each product on our website lists the maximum number of connected strings under its specifications.

Follow these easy steps to get started
1. Test and ball up your lights
Plug in every string before you start to make sure it lights up. It’s much easier to swap a string on the ground than after it’s wrapped around a tree.
To make wrapping the tree incredibly easy, ball up the strings of lights. Start with the female end and wrap the lights around and around to create a ball, so the male plug ends up on the outside, ready to start at the bottom of the tree. Alternately, we sell mini lights that already come in a ball: our Coaxial LED mini lights (sold by the case).
2. Start at the bottom and spiral up the trunk
We recommend starting from the bottom of the tree and working your way up. Wrap the trunk in a steady spiral, keeping the same angle and the same distance between each wrap all the way up. An even spiral is what gives a tree that clean, professional look.
Wrap the mini lights firmly so the string won’t slip or come loose, but not so tightly that you can’t adjust the lights in areas or swap out a bulb later. Leaving a little slack also gives the tree room to breathe and grow, especially outdoors.
3. Wrap the branches
When you reach the branches, wrap them the same way you did the trunk, but leave enough space so that you can wrap back towards the trunk after reaching the end of the branch. You don’t need to wrap all of the branches, and you only need to go about ¾ of the way up a branch for maximum effect.
4. Finish at the top and plug in
Once you have reached the top of your tree, you can wrap back down the trunk if desired. Doubling up the mini lights on the trunk creates a brighter effect for the tree. When you’ve finished wrapping the tree, plug in the male plug you left at the bottom and enjoy the light show!

More tips from the pros
- Pick a calm day. Wrapping trees in the wind is frustrating and makes it hard to get a clean, even spiral.
- Use an extension pole for tall trees. A pole lets you reach high branches without a ladder, and balled-up lights make it easy to pass the string around the tree.
- Match the bulb spacing to the job. Tighter bulb spacing gives a fuller look on small trees and thin branches, while wider spacing covers big trunks with fewer strings.
- Take them down carefully. Unwind the lights gently so you don’t damage the tree or the string, then ball them up again starting with the female end so they’re ready to go next season.
- Keep the glow going. Wrapped tree trunks look great all year, not just at Christmas. Add a couple of chairs or a picnic table nearby for a cozy outdoor spot.